Crown molding is a timeless addition to any room, offering elegance and sophistication that can elevate your home’s design. While it may seem like a job best left to professionals, with the right tools, preparation, and guidance, you can achieve professional-quality results on your own. This comprehensive guide will walk you through every step of the process, ensuring a flawless finish.

Understanding Crown Molding
What is Crown Molding?
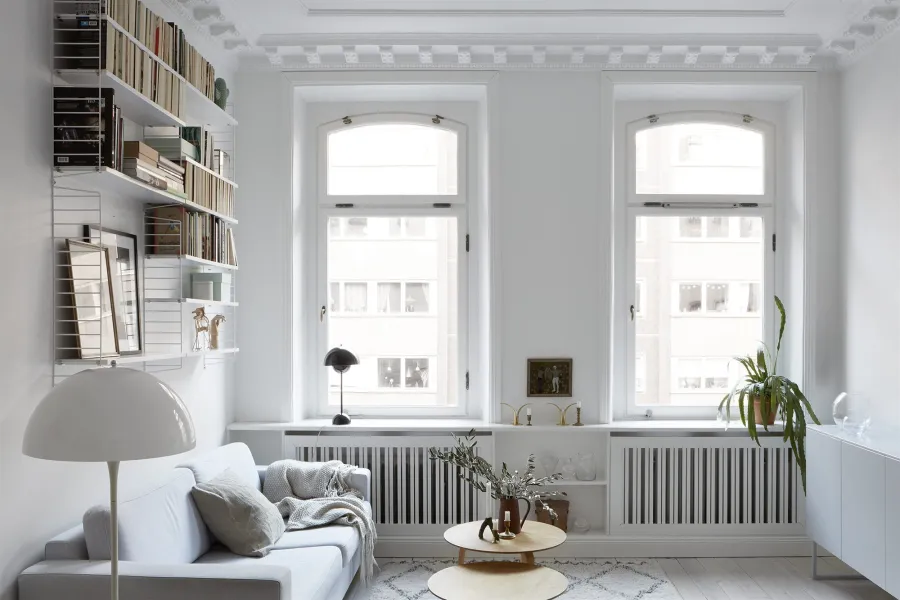
Crown molding is a decorative trim installed where walls meet ceilings. It provides a polished look, bridging the gap between the two surfaces while enhancing the room’s architectural details. Historically, crown molding was used in classical architecture to hide imperfections and add grandeur, and today, it remains a popular feature in interior design.
Types of Crown Molding
- Wood: A traditional choice, offering durability and versatility. Ideal for rooms with a classic aesthetic.
- MDF (Medium-Density Fiberboard): A cost-effective option that’s easy to paint and shape. Best for interior spaces.
- PVC (Polyvinyl Chloride): Water-resistant and great for bathrooms or kitchens.
- Polystyrene: Lightweight and simple to install, making it perfect for DIY projects.
Choosing the Right Crown Molding
When selecting crown molding, consider your room’s style and dimensions. Larger rooms with high ceilings can handle more intricate and wider molding, while smaller rooms benefit from simpler, narrower designs. Ensure the molding complements your room’s overall aesthetic.
Tools and Materials Needed
Essential Tools
- Miter saw or coping saw
- Measuring tape
- Pencil and straightedge
- Nail gun or hammer with finishing nails
- Level and stud finder
- Sandpaper
- Caulk gun
- Paintbrush or roller
Materials
- Crown molding strips
- Wood glue or adhesive
- Paint or stain
- Caulk for sealing seams and gaps
Optional Tools
- Laser level for precise alignment
- Crown molding installation clips for added ease
Preparing for Installation
- Measuring and Planning
- Measure the room dimensions carefully, noting the lengths of all walls.
- Mark the locations of studs using a stud finder and pencil.
- Create a layout diagram to plan the cuts and placement of each molding strip.
- Cutting the Molding
- Understand the difference between inside and outside corner cuts.
- Use a miter saw to make precise cuts at the required angles.
- Test cuts on scrap wood before cutting the actual molding to ensure accuracy.
- Painting or Staining Before Installation
- Apply paint or stain to the molding before installation to avoid messes. This allows for easier coverage and better drying.
- Perform touch-ups after installation as needed.
- Safety Precautions
- Always wear safety goggles and gloves when handling tools.
- Keep your work area clean and organized to prevent accidents.
Step-by-Step Installation Process
Step 1: Mark Guidelines on Walls and Ceilings
- Use a level to draw straight lines where the molding will sit. This helps ensure perfect alignment during installation.
- Mark reference points for inside and outside corners.
Step 2: Cut the Crown Molding
- Measure and cut each piece to fit specific wall sections.
- Use a coping saw for inside corners to ensure a seamless fit.
- Label each piece for easy identification during installation.
Step 3: Dry Fit the Molding
- Position the molding pieces against the wall and ceiling to check for alignment.
- Make adjustments to cuts as needed before securing.
Step 4: Attach the Molding
- Apply wood glue or adhesive to the back of the molding.
- Secure the molding in place using a nail gun or finishing nails, ensuring it aligns with your guidelines.
- Drive nails into studs whenever possible for a secure hold.
Step 5: Fill Gaps and Seams
- Use caulk to fill any gaps between the molding and wall or ceiling.
- Smooth the caulk with your finger or a damp cloth for a clean finish.
Step 6: Final Touches
- Paint over caulked areas to match the molding.
- Perform a final inspection, cleaning up any stray glue or paint.
Common Mistakes to Avoid
- Incorrect Measurements: Always measure twice to ensure accurate cuts.
- Improper Angles for Corners: Use test pieces to perfect corner cuts before cutting the actual molding.
- Skipping Dry Fits: This step is crucial to identify and resolve alignment issues before attaching the molding.
- Neglecting Safety Measures: Always handle tools carefully and wear protective gear.
Pro Tips for Professional Results
- Use Crown Molding Templates: These pre-made templates simplify corner cuts and reduce errors.
- Invest in a Laser Level: A laser level ensures straight and even alignment, making the process smoother.
- Start with a Small Room: Practice in a less visible area before moving on to larger or more prominent spaces.
- Take Your Time: Rushing through the process can lead to mistakes. Precision is key to achieving a polished look.
Troubleshooting and Fixing Errors
- Fixing Gaps Between the Wall and Molding: Fill gaps with caulk or putty and repaint for a seamless finish.
- Repairing Misaligned Corners: Sand or recut edges as necessary to create a tighter fit.
- Touching Up Paint or Stain: Repaint or restain areas with uneven finishes to ensure consistency.
Benefits of Installing Crown Molding
- Aesthetic Appeal: Crown molding enhances the elegance and character of a room.
- Increased Property Value: Homes with crown molding often have higher perceived value.
- Personal Satisfaction: Completing a DIY project like this adds a sense of accomplishment and pride in your home.
Conclusion
Installing crown molding doesn’t have to be intimidating. With careful preparation, the right tools, and attention to detail, you can achieve professional-quality results that transform your space. Follow this guide step-by-step, and soon you’ll have beautifully installed crown molding that adds value and style to your home. Ready to get started? Gather your materials and bring your vision to life!